Creating a cozy stream background

The base image
My goal was to create a cozy co-working background of a monitor in a room. Since I have zero artistic skill I opted to fiddle around with AI generated images.
Using ComfyUI I generated a few images. I used the "dreamshaper xl v21 turbo" checkpoint/model and tweaked the settings until I got something I was satisfied with.
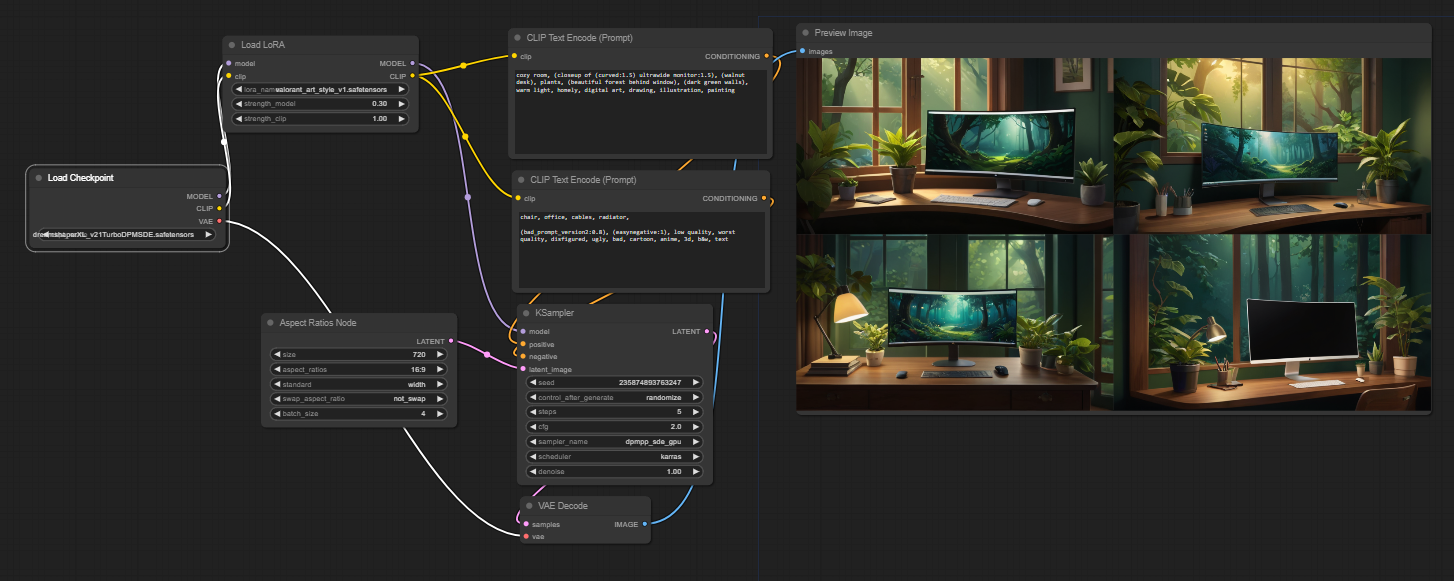
This is the image I settled with. While this is quite nice a few things had to be adjusted.
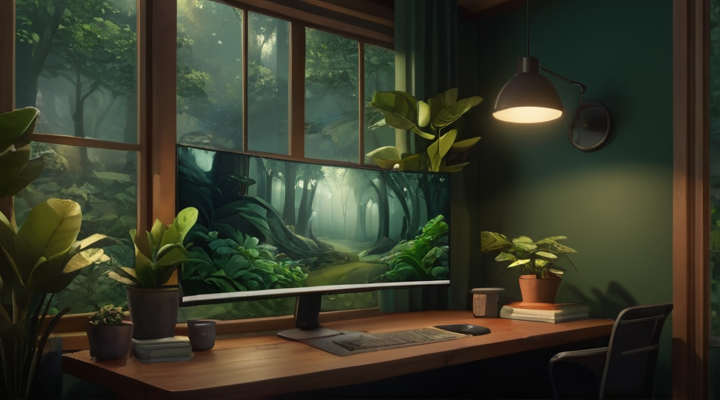
Modifying the image
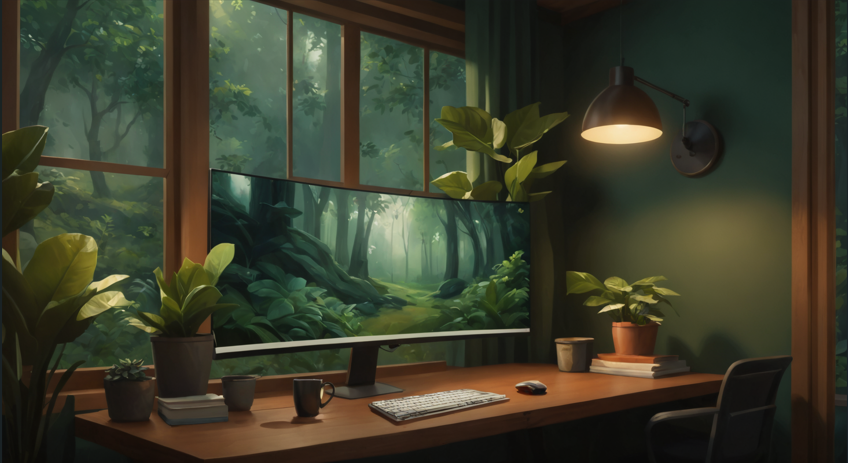
I first upscaled the image 4x using a different workflow that also re-draws the image to some extend.
Next I wanted to add a coffee cup. I spent quite some time trying to get an in-paint workflow to work that would allow me to draw a mask on the image and then have the model generate a mug in the area of the mask, but I just could not get it to work.
So I generated the mug seperately, removed the background and added it via Affinity Photo and then threw the image in an image-to-image workflow. This uses an existing image as a starting point rather than an empty one. The reason why I do this is so that the model unifies the style, colors and lighting.
I did the same for a keyboard and mouse.
AI nonsense
As with almost every AI image, the longer you look at it the more stuff you can see that just isn't right. Some stuff can be fixed easily, for example the plant on the top right of the monitor just floats there and has no pot which I just copied over from the left.
The lamp is connected to the wall but has a cable coming from above - I removed the cable.
The window borders are missing below the monitor and on the top left of the monitor, I extended them.
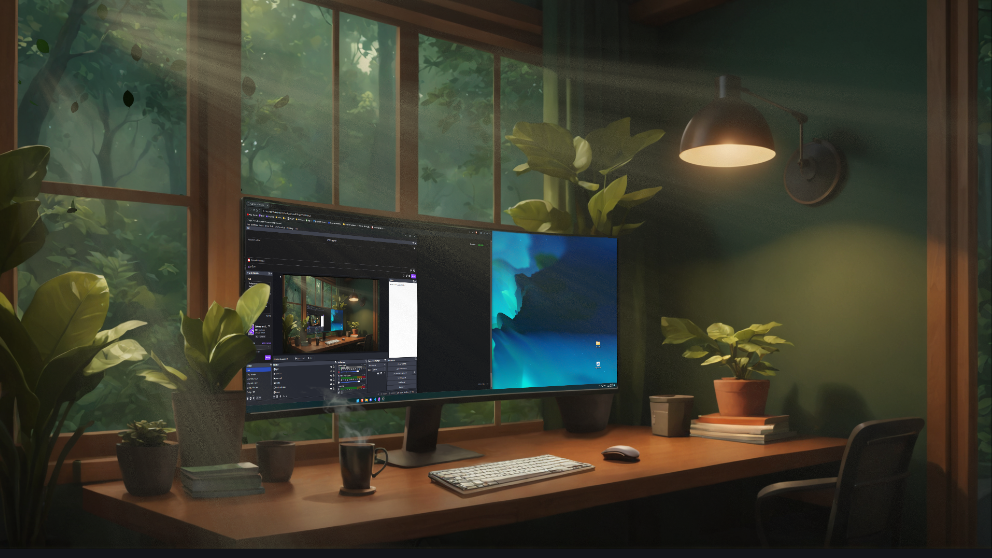
Adding screen capture
To have the screen capture on the monitor in the image I first roughly positioned the source and added a "corner-pin" filter using the obs-shaderfilter plugin. This mimics the 3d perspective.
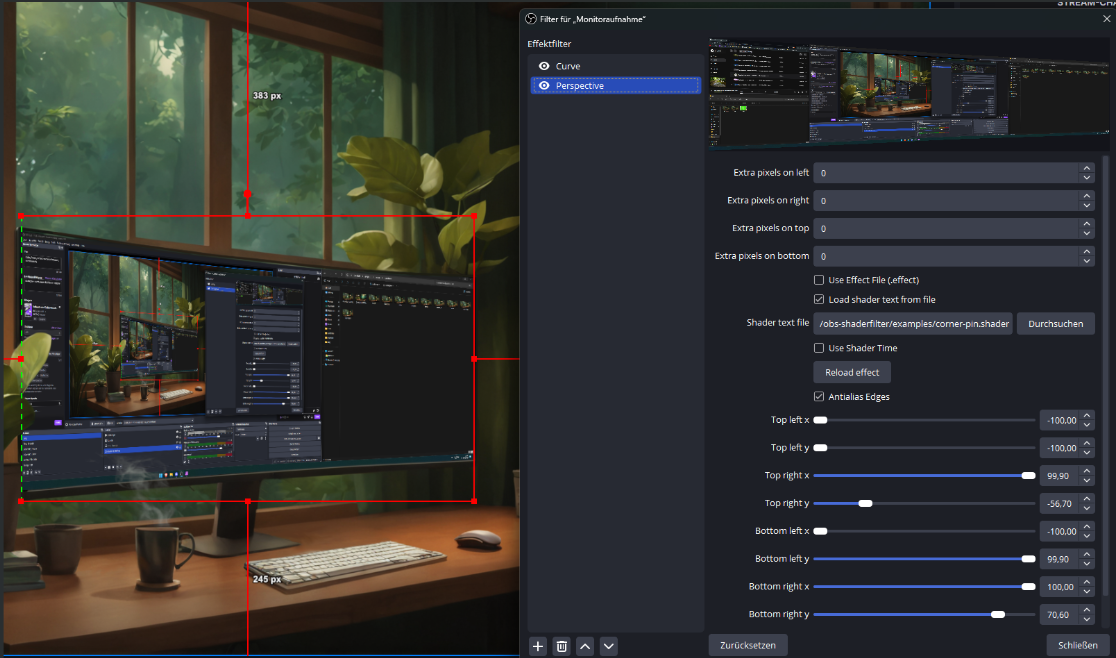
I then added a second filter to create a slight pinch in the center. This way the image better matches the curved shape of the monitor.
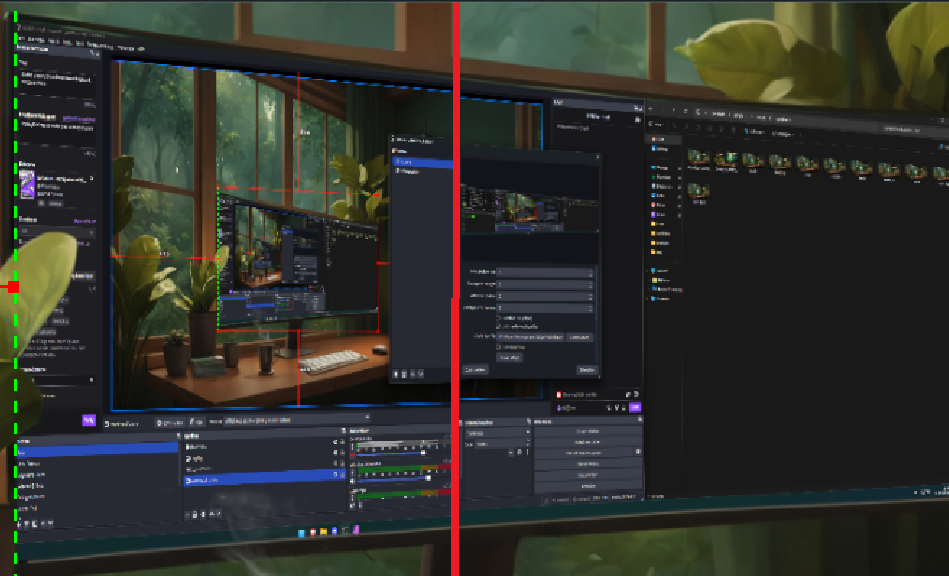
I also cut out the display part of the monitor in the original image using Affinity and placed the screencapture source behind the image.
Post Processing
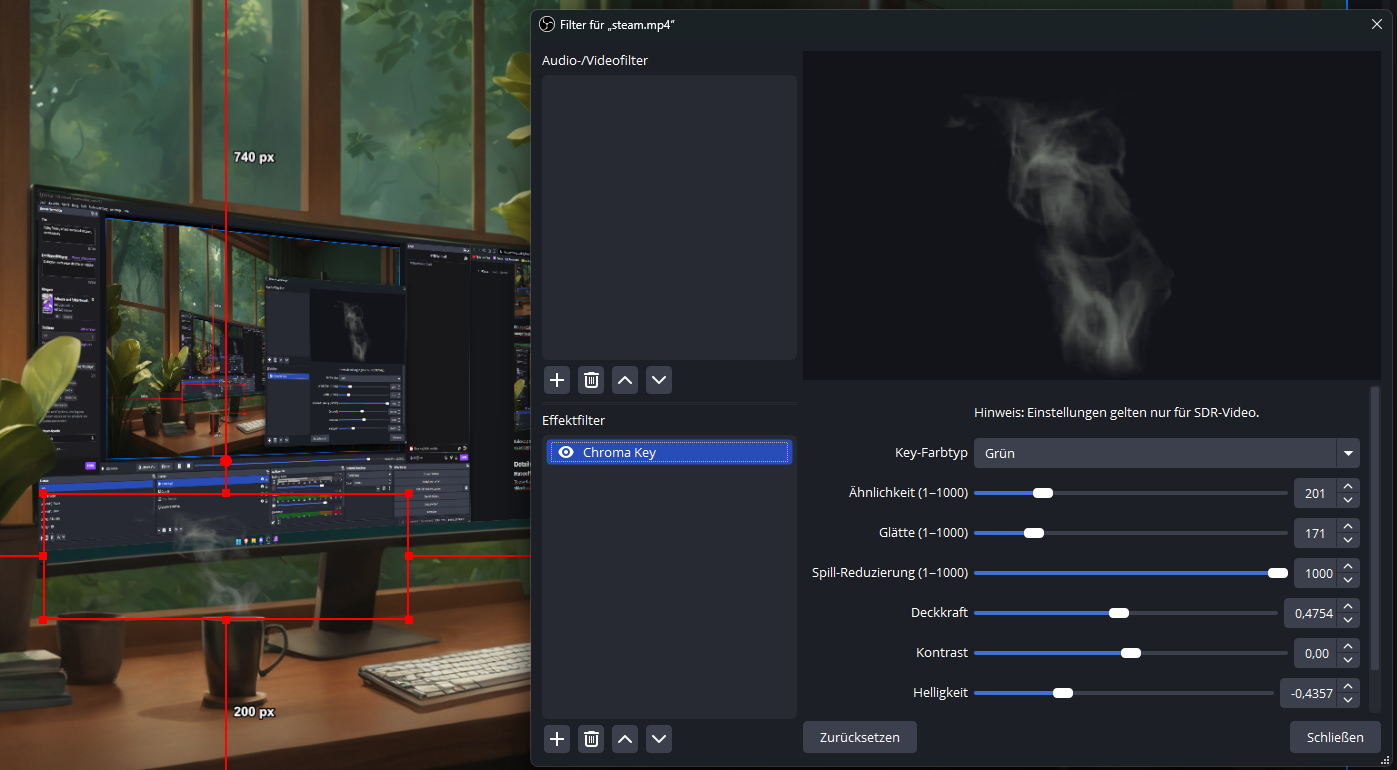
Hot coffee
To give the mug some steam I found a greenscreen steam video online that was also perfectly looped. I applied a chroma key filter and set the spill-reduction to the maximum.
Leaves
Some falling leaves in the background would be nice. My first attempt was to find a video online and cut out the windows. It works, but most of the videos I found are either very autumnal, have too many leaves, are too fast, do not loop, or the colours do not match.
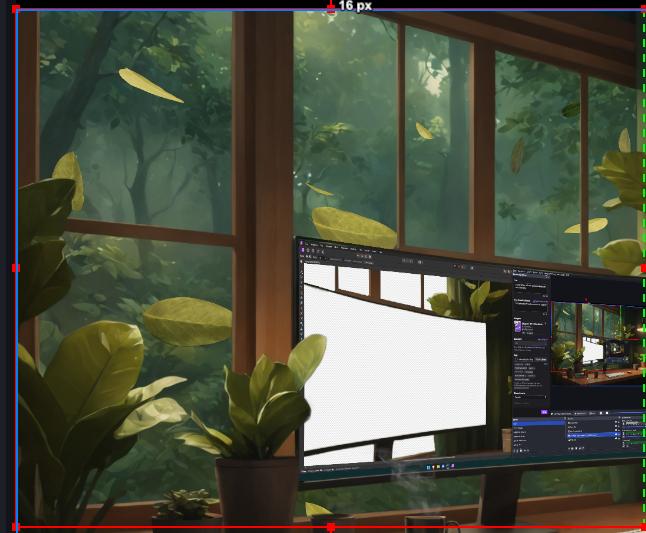
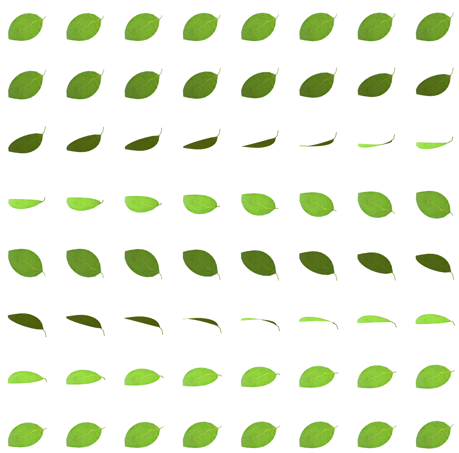
So I hacked together a little pixi.js animation using this leaf sprite I found online
import { AnimatedSprite, Application, Assets, Color, Container } from 'pixi.js';

(async () => {
    // Create a PixiJS application.
    const app = new Application();

    // Intialize the application.
    await app.init({ backgroundAlpha: 0, resizeTo: window });

    // Then adding the application's canvas to the DOM body.
    document.body.appendChild(app.canvas);

    const sheet = await Assets.load('leaf.json');

    const sprites = new Container();
    const leaves = [];
    const totalLeaves = 50;

    function setupLeaf(leaf) {
        leaf.x = -400 + Math.random() * window.innerWidth * 0.6;
        leaf.y = -100;

        let size = Math.random() * 0.8 + 0.2;
        leaf.scale.set(size);

        //smaller leaves are slower
        leaf.vx = Math.random() * 1 + 0.2;
        leaf.vy = size * 1 + 0.5;
        leaf.vr = Math.random() * 0.05;

        //randomize the color
        let h = Math.random() * 0.8 + 0.2;
        leaf.tint = new Color({
            r: 68 * h,
            g: 93 * h,
            b: 76 * h,
        })

        let o = 0.3;
        leaf.anchor.set(0.5 + (Math.random() - 2) * 0.5 * o, 0.5 + (Math.random() - 2) * 0.5 * o);
        leaf.animationSpeed = 0.2 + Math.random();
        leaf.play();
    }

    for (let l = 0; l < totalLeaves; l++) {
        const leaf = new AnimatedSprite(sheet.animations.fall);
        setupLeaf(leaf);

        leaf.x = Math.random() * window.innerWidth;
        leaf.y = Math.random() * window.innerHeight;

        sprites.addChild(leaf);
        leaves.push(leaf);
    }

    app.stage.addChild(sprites);

    app.ticker.add((time) => {
        leaves.forEach(leaf => {
            leaf.x += leaf.vx;
            leaf.y += leaf.vy;
            leaf.rotation += leaf.vr;

            if (leaf.x > window.innerWidth + 100 || leaf.y > window.innerHeight + 100) {
                setupLeaf(leaf);
            }
        })
    });
})();
Each leaf has properties that are randomized:
- size
- speed in x and y
- rotation speed
- rotation offset (anchor)
- brightness
- animation speed
This results in a very random animation that can play forever
Godrays
To add some light rays I also tried around with pixijs. While there is a Godray-filter available it converts the transparent background to black which would need another chromakey in OBS.
Instead I tried a different approach, drawing circles using perlin noise with a threshold. I specified the areas of the circles to roughly match the locations where there are windows in the background image.
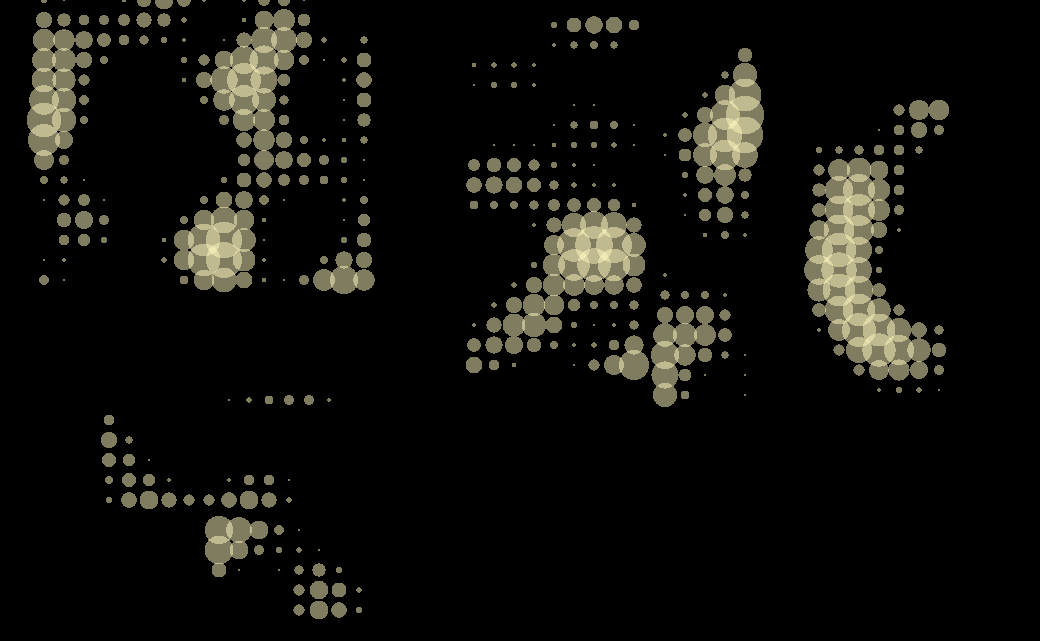
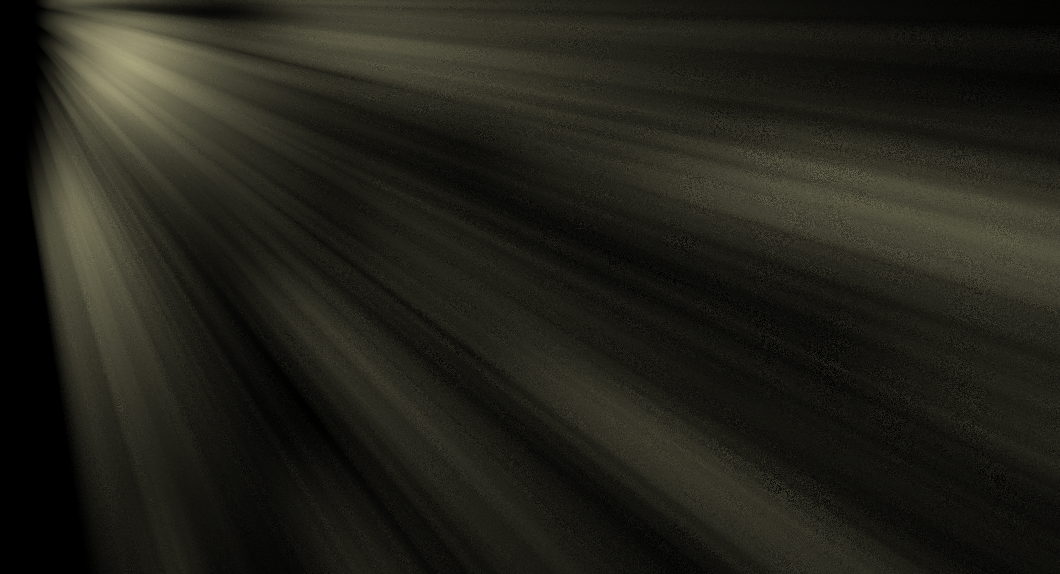
Now apply ZoomBlurFilter:
import { Noise } from "noisejs";
import { ZoomBlurFilter } from 'pixi-filters';
import { Application, Container, Graphics, Rectangle } from 'pixi.js';


(async () => {
    // Create a PixiJS application.
    const app = new Application();

    // Intialize the application.
    await app.init({ backgroundAlpha: 0, resizeTo: window });

    // Then adding the application's canvas to the DOM body.
    document.body.appendChild(app.canvas);

    let zoom = new ZoomBlurFilter({
        strength: 0.8
    });

    let container = new Container();

    let windows = [
        { x: 45, y: 0, w: 332, h: 290 },
        { x: 475, y: 25, w: 170, h: 350 },
        { x: 666, y: 55, w: 100, h: 350 },
        { x: 820, y: 110, w: 130, h: 300 },
        { x: 110, y: 400, w: 250, h: 120 },
        { x: 220, y: 530, w: 150, h: 87 },
    ];

    let noise = new Noise();
    let p = 20;
    let threshold = 0.45;
    let t = 0;

    function drawWindow(w) {
        w.obj.clear();

        for (var x = 0; x < w.w; x += p) {
            for (var y = 0; y < w.h; y += p) {
                var value = noise.perlin3((w.x + x) / 100, (w.y + y) / 100, t);

                let v = (1 + value) * 0.5;
                if (v < threshold) continue;

                let size = (v - threshold) / (1 - threshold);

                w.obj.circle(x, y, size * p * 1.5);
            }
        }

        w.obj.fill(0xfff9bf);
    }

    windows.forEach(w => {
        let obj = new Graphics();
        obj.x = w.x;
        obj.y = w.y;
        w.obj = obj;

        drawWindow(w);

        container.addChild(w.obj);
    })

    container.filters = [zoom];
    container.filterArea = new Rectangle(0, 0, app.screen.width, app.screen.height);
    container.alpha = 0.5;


    app.stage.addChild(container);

    app.ticker.add(function () {
        t += 0.002;

        windows.forEach(w => {
            drawWindow(w);
        })
    });
})();
Looks nice!